.jpg)
Call For Help Or Custom Orders
How to Install Corner Guards : Guide for Stainless Steel Wall Protection
Safety Reminder: Always Use Gloves!
Caution: Corner guards may have sharp edges. Wear protective gloves during installation or cleaning to prevent injury.

Step 1 Confirm what you’re installing
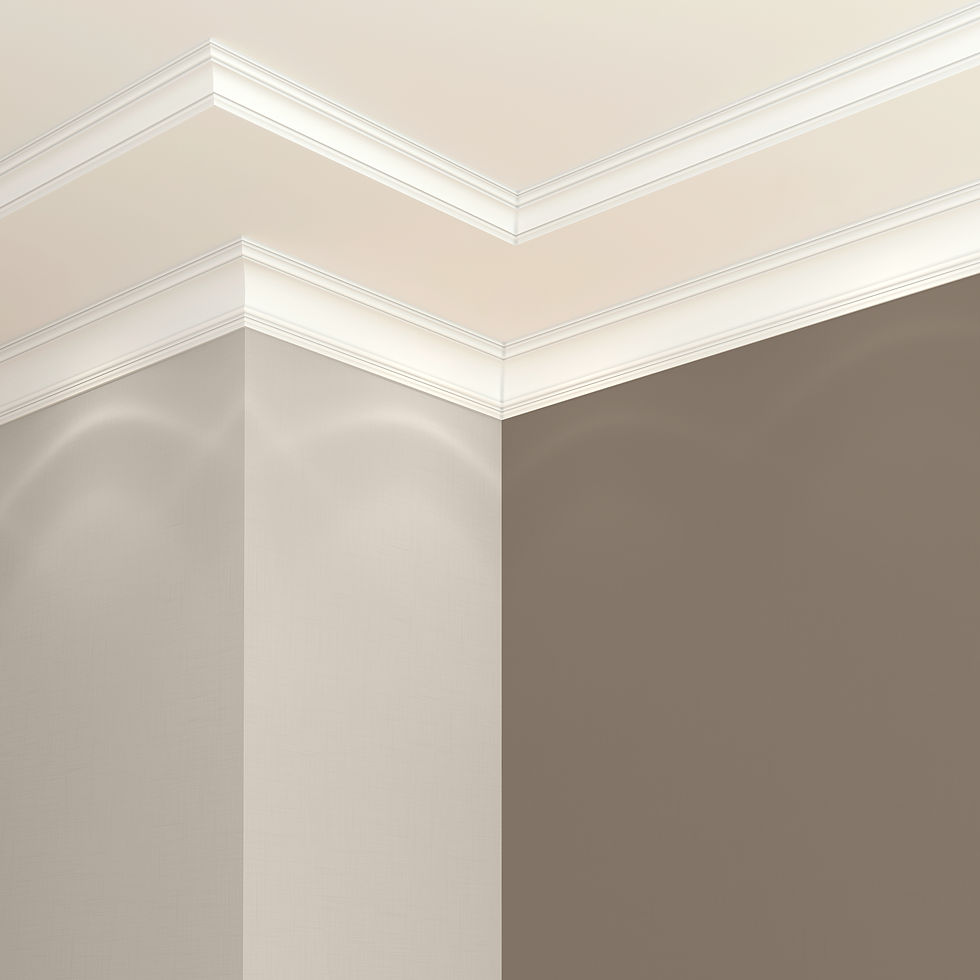
Ensure that your edge is straight, and that your corner measures 90 degrees. If your edge is slightly off, or if you’re not sure if it is 90 degrees or not, we highly recommend using our corner guards with SafetyEdge™. If your corner is a few degrees off from 90 degrees, SafetyEdge™ will compensate. It will also avoid protruding sharp edges, and make your corners look symmetrical.

Step 2 Prep the wall (this matters)
Make sure the corner is dry, dust-free, and not greasy.
Wipe both wall surfaces where the guard will sit with rubbing alcohol.
If paint is flaking or the drywall corner is damaged, fix it first or the guard won’t hold well.
Step 3: Apply PL adhesive
-
Lay the guard face down.
-
Apply two continuous vertical beads of PL adhesive:
-
One bead on each inside leg
-
About ¾–1 inch from the edge
-
-
Bead size: about ¼ inch thick
Do not zigzag and do not apply too close to the edge. This prevents squeeze-out.

Step 4: Install the corner guard
-
Press it firmly onto the corner.
-
Apply even pressure along the full height.
-
Hold for 20–30 seconds to let the adhesive grab.
%20(1).png)